Smart TVs have transformed home entertainment by combining traditional television viewing with internet-powered features such as streaming services, web browsing, voice control, and smart home integration. Whether you've just purchased your first Smart TV or are upgrading to a newer model, the setup process can seem overwhelming. Fortunately, getting started is easier than you might think. In this beginner-friendly guide from TV Activate Code.ai, we'll walk you through the essential steps to connect, activate, and customize your Smart TV Setup for the best viewing experience.
Step 1: Unbox and Position Your Smart TV
Before powering on your Smart TV, carefully remove it from the packaging and inspect all included accessories. Most Smart TV packages include:
- TV unit
- Remote control
- Batteries
- Power cable
- TV stand or mounting hardware
- User manual
Place your TV on a stable entertainment center or mount it securely on a wall. Ensure there is adequate ventilation around the television to prevent overheating.
For the best viewing experience, position the screen at eye level and avoid placing it in direct sunlight to minimize glare.
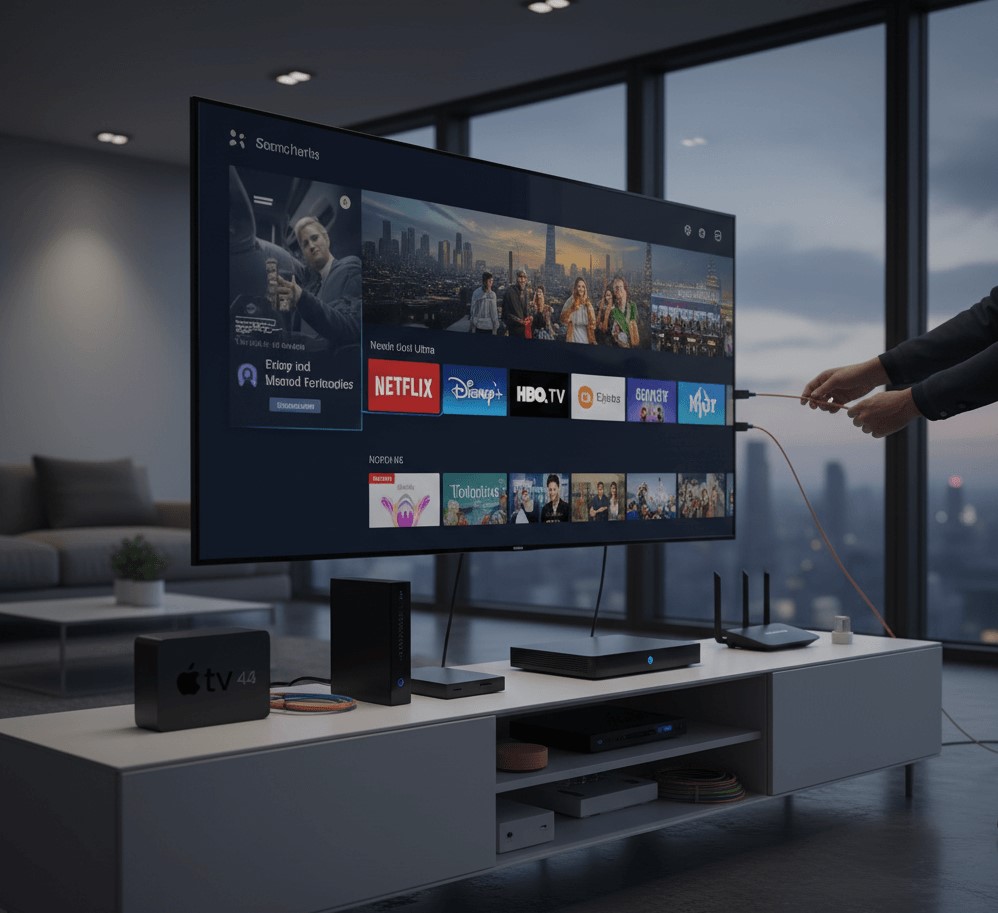
Step 2: Connect Power and External Devices
Once your TV is positioned correctly, plug it into a power outlet and connect any external devices you plan to use.
Common devices include:
- Streaming devices
- Gaming consoles
- Soundbars
- Blu-ray players
- Cable or satellite boxes
Most Smart TVs feature multiple HDMI ports, making it easy to connect several devices simultaneously. Labeling your HDMI inputs can help you quickly switch between devices later.
Step 3: Turn On Your Smart TV
Insert batteries into the remote control and press the power button. When you first turn on your Smart TV, you'll typically be guided through an initial setup wizard.
The setup wizard usually asks you to:
- Select your language
- Choose your region or country
- Accept terms and conditions
- Configure internet settings
Take your time during this process to ensure all settings are entered correctly.
Step 4: Connect to the Internet
An internet connection unlocks the full functionality of a Smart TV Setup.
Wi-Fi Connection
- Open Network Settings.
- Select your Wi-Fi network.
- Enter your password.
- Confirm the connection.
Ethernet Connection
For a more stable connection, plug an Ethernet cable directly from your router into the TV.
A wired connection is especially useful for:
- 4K streaming
- Online gaming
- Faster downloads
- Reduced buffering
Once connected, your TV may automatically test the network connection.
Step 5: Update Your TV Software
Software updates improve performance, add features, and fix security vulnerabilities.
To check for updates:
- Open Settings.
- Navigate to System or Support.
- Select Software Update.
- Choose Check for Updates.
If an update is available, install it before proceeding. The process may take several minutes and could require a restart.
Keeping your Smart TV updated ensures compatibility with the latest streaming apps and services.
Step 6: Sign In or Create an Account
Most Smart TV Setup platforms require a manufacturer account for access to app stores and cloud-based features.
Benefits often include:
- App downloads
- Device synchronization
- Personalized recommendations
- Voice assistant integration
- Automatic backups
Follow the on-screen instructions to complete account setup.
Step 7: Install Your Favorite Streaming Apps
One of the biggest advantages of Smart TV Setup is direct access to streaming services.
Visit the TV's app store and download the services you use most frequently.
After installation, sign in using your account credentials. Some services may require activation through a separate website using an activation code displayed on the TV screen.
Step 8: Customize Your Home Screen
Personalizing your Smart TV makes navigation faster and more enjoyable.
- Rearrange app icons
- Pin favorite apps
- Remove unused applications
- Organize content categories
- Customize shortcuts
A clean and organized home screen helps you access content quickly without scrolling through multiple menus.
Step 9: Optimize Picture Settings
Factory settings are often designed to stand out in retail stores rather than provide the best home viewing experience.
Adjust settings such as:
- Brightness – Controls overall screen illumination.
- Contrast – Improves the difference between dark and bright areas.
- Sharpness – Enhances image detail.
- Color Temperature – Allows warmer or cooler image tones.
Many Smart TVs also include preset modes such as:
- Standard
- Movie
- Cinema
- Sports
- Game
Experiment with these modes to find the one that suits your viewing preferences.
Step 10: Configure Audio Settings
Great sound is just as important as picture quality.
Adjust:
- Volume leveling
- Bass and treble
- Dialogue enhancement
- Surround sound settings
If you're using a soundbar or home theater system, ensure the correct audio output is selected in your TV settings.
Many modern TVs support HDMI ARC or eARC, simplifying audio connections and improving sound quality.
Step 11: Enable Smart Features
Today's Smart TVs offer advanced features beyond streaming.
You may be able to activate:
- Voice control
- Screen mirroring
- Mobile device casting
- Smart home integration
- Virtual assistants
These features can enhance convenience and create a more connected entertainment environment.
Troubleshooting Common Setup Issues
Wi-Fi Not Connecting
- Restart the router.
- Verify the password.
- Move closer to the router.
Apps Not Downloading
- Check internet connectivity.
- Update system software.
- Restart the TV.
Poor Picture Quality
- Adjust picture settings.
- Verify streaming quality settings.
- Check HDMI cable connections.
Remote Not Responding
- Replace batteries.
- Re-pair Bluetooth remotes if necessary.
Most setup issues can be resolved quickly with these basic troubleshooting steps.
Final Thoughts
Setting up a Smart TV doesn't have to be complicated. By following a few simple steps, you can connect your television, install your favorite apps, customize settings, and enjoy a seamless entertainment experience.
Whether you're streaming movies, watching live sports, gaming online, or integrating your TV into a smart home ecosystem, a properly configured Smart TV provides endless entertainment possibilities. With the guidance provided by TV Activate Code.ai, even first-time users can complete the setup process confidently and start enjoying all the features their Smart TV Setup has to offer.